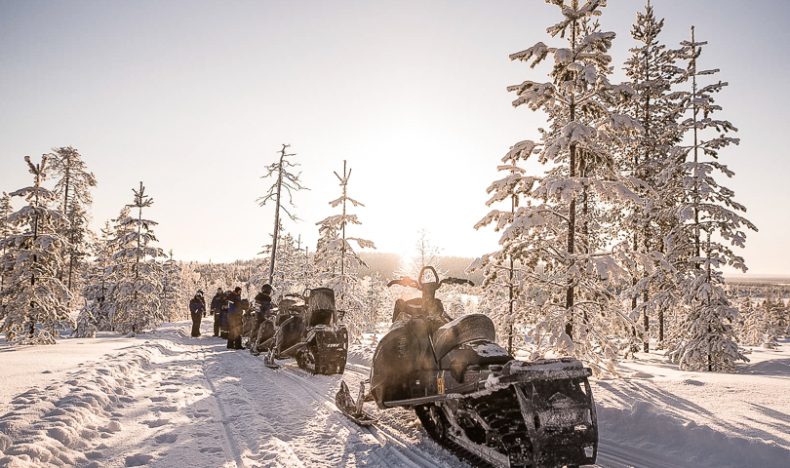
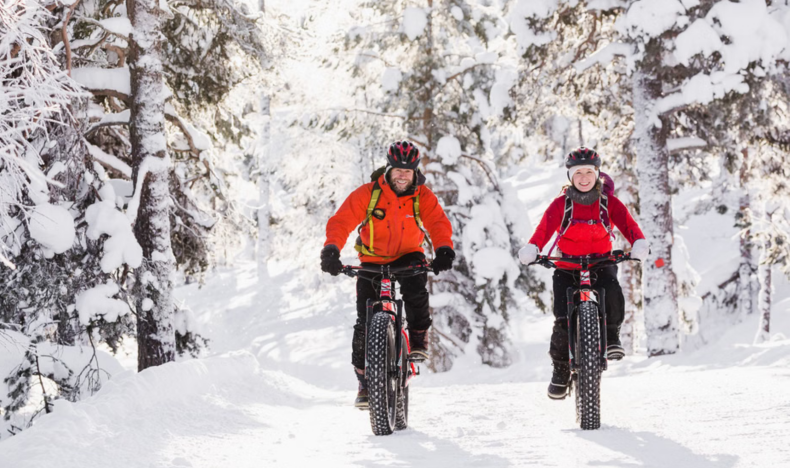
Explore Riisitunturi's snow-covered fells on an 8–9-hour small-group winter expedition with photography stops, a light campfire lunch and a 4–5 km route.
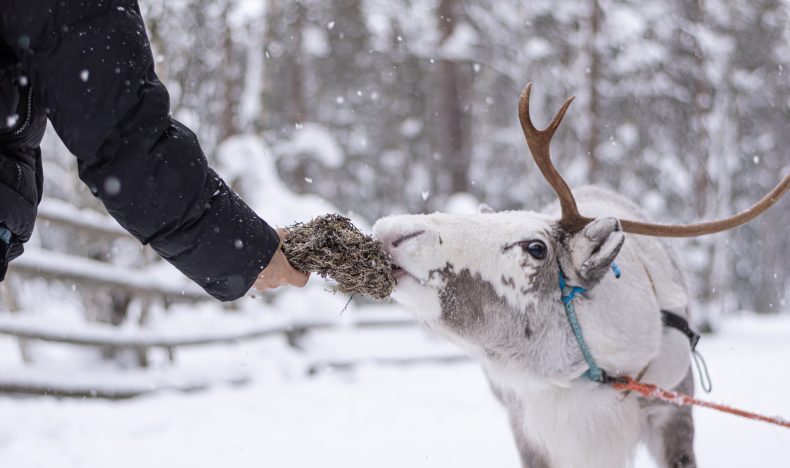
Visit Ranua Wildlife Park, home to more than 50 Arctic animal species, on a 5-hour tour from Rovaniemi with photography guidance and edited tour photos.
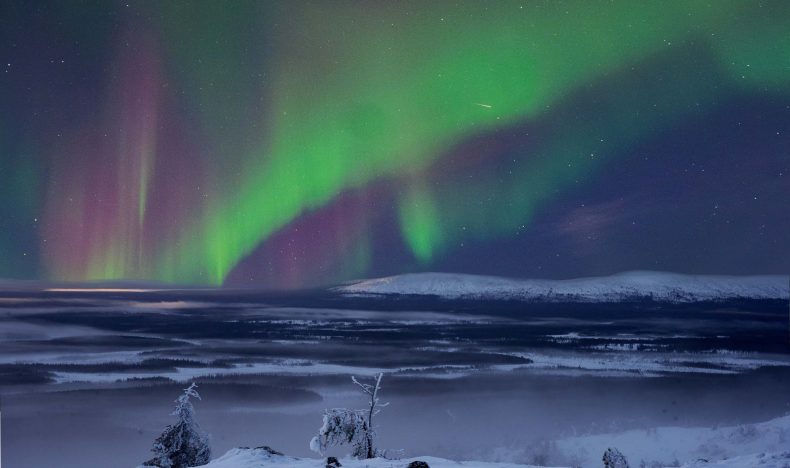
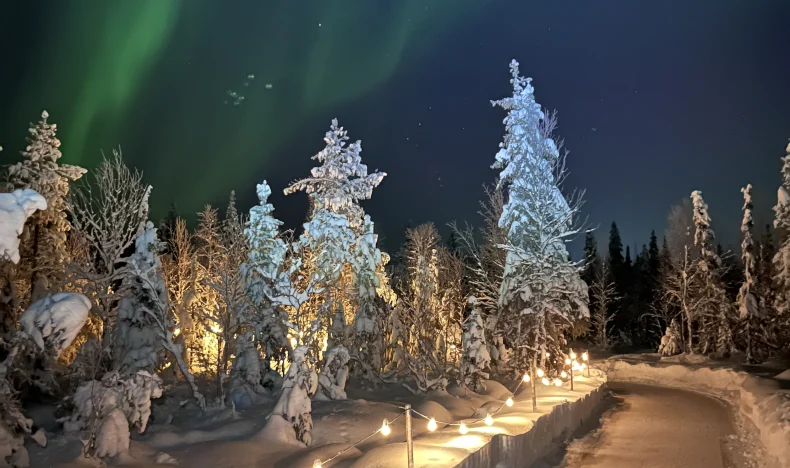
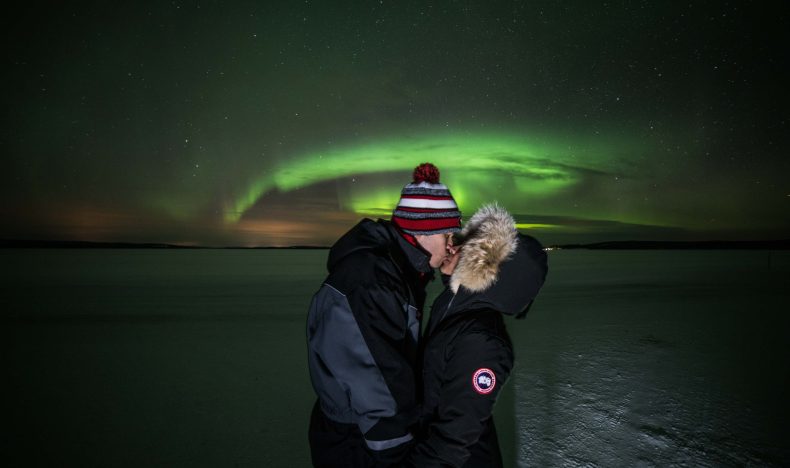
Hunt for the Northern Lights with your own group and a professional photographer, with a private location, flexible timing and professionally edited photos.
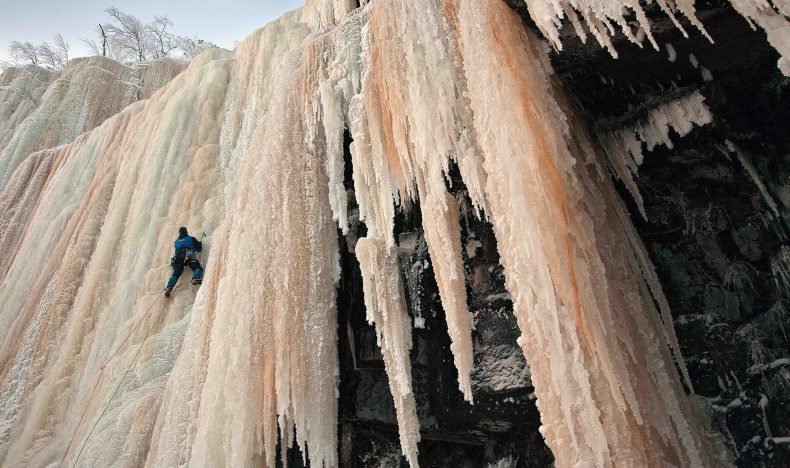
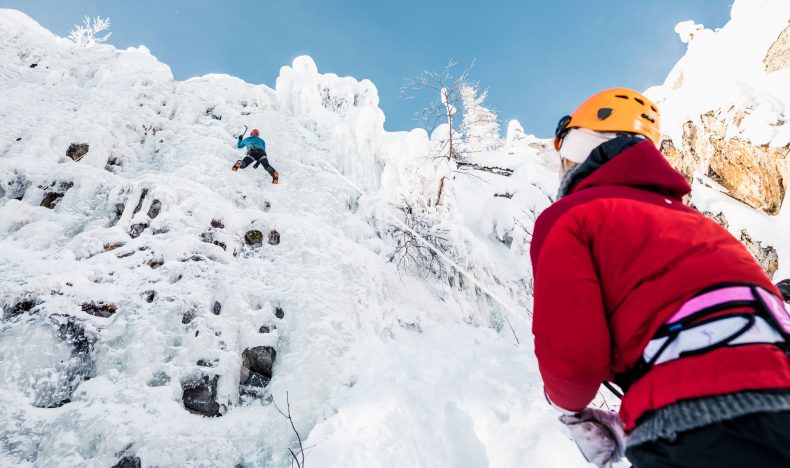
Travel from Rovaniemi to Korouoma Canyon for a full-day ice climbing adventure with a professional instructor, climbing equipment and return transportation included.
Photograph Rovaniemi's winter cityscape, frozen river and nearby snowy nature on a private 2-hour tour with a professional photographer and edited portraits.
Photograph Rovaniemi's summer night light beside rivers, lakes and forests on a 3–4-hour small-group tour with camera guidance, a campfire stop and edited tour photos.
Photograph Rovaniemi's riverside landmarks, summer light and nearby Lappish nature on a 2-hour tour with professional guidance and edited photos included.
Ride a snowmobile through Levi's forests and frozen landscapes after dark, stopping to watch the sky and enjoy a fireside snack. Northern Lights sightings cannot be guaranteed.
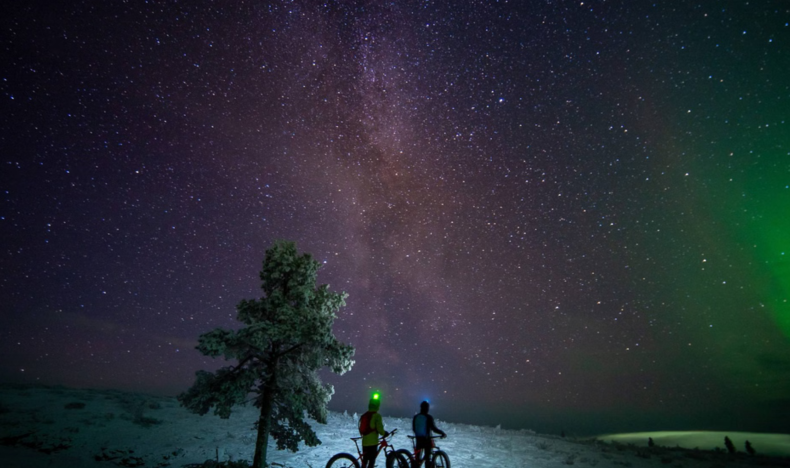
Hunt for the Northern Lights around Levi with a professional photography guide, camera support and edited tour photos. Aurora sightings are unpredictable and cannot be guaranteed.
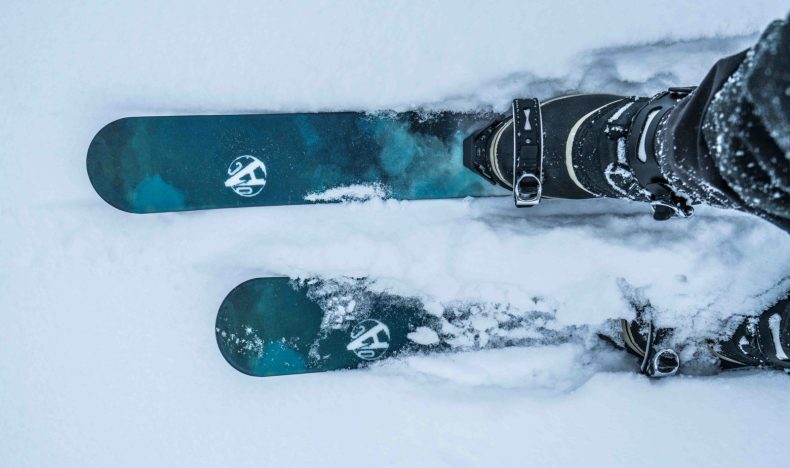
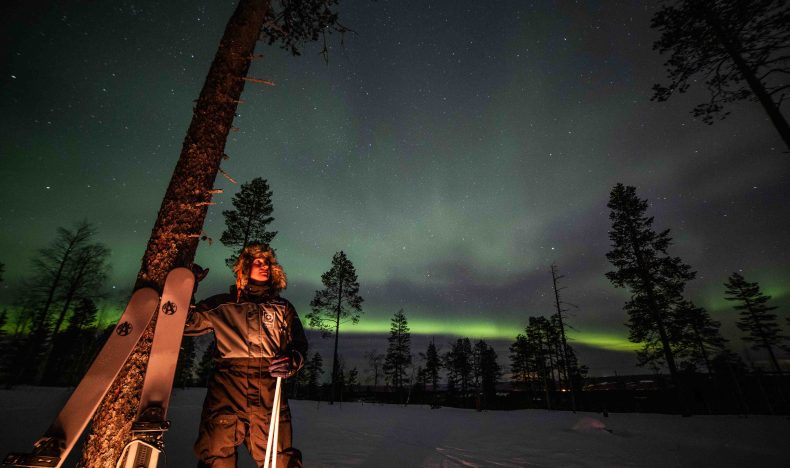
Learn the basics of backcountry skiing on a small-group trip into the snowy wilderness near Levi, with specialist skis, warm clothing and photography guidance included.
How to Photograph the Northern Lights (camera & phone)
By Juho Uutela
•13 min read
Learning how to photograph the northern lights comes down to three settings — a high ISO, a long shutter speed and a wide aperture — plus manual focus set to infinity and a steady tripod. Get those right and even a modest camera will capture colour and structure your eyes can barely see. Get them wrong and the brightest aurora of the season turns into a blurry, noisy smudge.
This guide gives you the exact starting points we use in the field, for both a dedicated camera and a modern phone. It is written by the team at Beyond Arctic, a photography-focused small-group tour operator founded in Rovaniemi in 2016, where a professional photographer joins every northern lights tour. We shoot the aurora dozens of nights each winter across Rovaniemi, Levi and Pyhä-Luosto, so the numbers below are not copied from a forum — they are what we dial in when the sky starts to move. For the bigger picture on when and where to see them, read our guide to the northern lights in Lapland.
What you need to photograph the northern lights
To photograph the northern lights you need a camera that allows manual exposure, a sturdy tripod, and a way to trigger the shutter without shaking it. Everything else is a bonus. You do not need the most expensive body on the market; you need control over ISO, shutter speed and focus, and something solid to stand the camera on.
Here is the realistic gear list, in order of how much it matters:
A tripod. This is non-negotiable. Aurora exposures last several seconds, and no human can hold a camera still that long. A lightweight travel tripod is fine; just make sure it locks firmly in the cold. On every Beyond Arctic aurora tour, a tripod is included free of charge — and that includes a phone mount, so you are never caught without one.
A camera with full manual (“M”) mode. A mirrorless camera or DSLR is ideal because it has a large sensor and interchangeable lenses. But a recent phone with a night mode will also work — more on that below.
A fast, wide lens. A wide focal length (roughly 14–24 mm on full frame) captures more of the sky and the landscape, and a wide maximum aperture of f/2.8 or brighter lets in more light so you can keep ISO and shutter time lower. A “kit” lens at f/3.5–4 still works; you simply compensate with ISO.
A remote release or the 2-second self-timer. Pressing the shutter button by hand nudges the camera. A cheap remote, or simply the built-in timer, removes that shake.
Spare batteries kept warm. Cold drains batteries fast. Keep one or two in an inside pocket and swap them in as needed.
A headlamp with a red-light mode. Red light protects your night vision and won’t ruin a neighbour’s long exposure.
From the field: One guest arrived in Rovaniemi convinced she “couldn’t take photos.” We set her phone to night mode, propped it on the included mini-tripod, framed a faint green band over the trees, and tapped the shutter. Three seconds later her screen showed vivid green curtains she could not see with her own eyes. She spent the rest of the night photographing — and that single frame became her phone’s lock screen. No professional kit, just the right settings and something to hold the phone still.
Camera settings for the northern lights (ISO / shutter / aperture)
This is the heart of it. The northern lights are photographed in full manual mode using a high ISO, a multi-second shutter speed and the widest aperture your lens allows. Switch your camera to M, turn off the flash, and shoot in RAW if you can — RAW files hold far more colour and shadow detail to recover later.
Treat the table below as starting points to adapt, not fixed rules. A faint, slow aurora needs more light (higher ISO, longer shutter); a bright, fast-dancing aurora needs less (lower ISO, shorter shutter) so the curtains stay crisp instead of blurring into a green wash.
Setting
Starting point
Adjust toward…
Mode
Manual (M), RAW
—
ISO
1600–3200
Lower (800–1600) if aurora is bright; higher (up to 6400) if very faint
Shutter speed
5–15 seconds
Shorter (2–6 s) for fast, structured aurora; longer (15–25 s) for faint, slow glow
Aperture
f/2.8 (or your widest)
Stay as wide as your lens allows; f/4 is fine with higher ISO
Focus
Manual, set to infinity
Focus once on a bright star or distant light, then don’t touch it
White balance
3200–4000 K
Lower for cooler/bluer sky, higher for warmer tone (easily fixed later in RAW)
A few words on each, because understanding why lets you adapt when the sky doesn’t read the manual:
ISO controls your sensor’s sensitivity to light. Higher ISO brightens the image but adds grain (“noise”). Start around ISO 1600–3200: bright enough to capture a typical aurora, clean enough to look good. If the lights are faint, push higher; if they are dazzling, drop lower for a cleaner file.
Shutter speed decides how long the sensor collects light. Too short and a faint aurora barely registers; too long and a lively aurora smears into a featureless glow and the stars turn into short trails. A useful habit is the rough “rule of 500”: divide 500 by your lens’s focal length to estimate the longest exposure before stars visibly trail (e.g. 500 ÷ 14 mm ≈ 35 s as an absolute ceiling). In practice we usually live between 5 and 15 seconds and adjust to the aurora’s speed.
Aperture is the size of the opening that lets light through. A wider aperture (a smaller f-number like f/2.8) gathers more light, letting you keep ISO and shutter time down. Open your lens as wide as it goes. If your widest is f/4, simply raise ISO a stop to compensate.
Focus is where most aurora shots are lost. Autofocus hunts uselessly in the dark, so switch to manual focus. Point at a bright star or a distant light, use your screen’s magnified live view to make it a pinpoint, and lock focus there — that is effectively infinity. Then tape the focus ring or just don’t bump it. For a reliable primer on the fundamentals of exposure, the Royal Photographic Society is a solid, non-commercial reference.
How to photograph the northern lights with your phone (night mode)
You do not need a “real” camera to come home with a keeper. Modern phones photograph the northern lights using their built-in night mode, which automatically takes a long, stacked exposure — you just need to hold the phone perfectly still. The single biggest upgrade is, again, a tripod or any way to brace the phone, because night mode can run for several seconds.
Here is how to get the best out of a phone:
Mount it or brace it. Use a small phone tripod (included on our tours), or wedge the phone against a railing, a backpack or a snowbank. Any movement during the exposure ruins the shot.
Turn on Night mode and max out the time. On iPhone, Night mode appears automatically in the dark — tap the moon icon and slide the timer to its longest setting (often up to 10 or 30 seconds on a tripod). On many Android phones the equivalent is “Night” or “Pro/Expert” mode.
Use the timer or voice shutter. Tapping the screen shakes the phone. Set a 3-second timer, or use a voice command, so the phone is still when the exposure begins.
Tap to set exposure and lock it. Tap a darker part of the sky to meter for the aurora rather than the snow, then keep the phone steady.
If your phone has Pro/RAW mode, mirror the camera settings above: ISO ~1600–3200, shutter 3–10 seconds, manual focus to infinity. RAW gives you the same recovery latitude.
The honest limits: phone sensors are tiny, so files are noisier and you can’t print them as large. But for sharing the moment — and for proving to yourself that the camera sees more colour than the eye — a phone is genuinely good. We have watched countless first-timers capture their very first aurora on a phone propped on our mini-tripod.
Composition: turning a green sky into a photograph
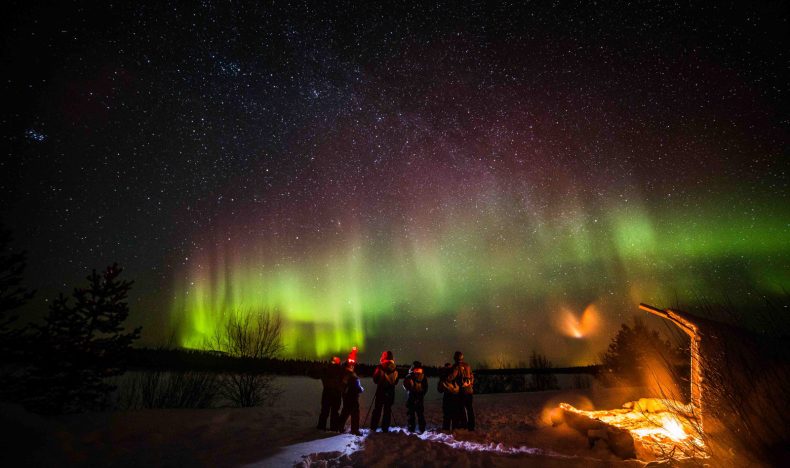
A photo of only sky is rarely memorable. Strong northern lights photographs use a foreground — a tree, a cabin, a frozen lake, a person — to give the aurora scale and a sense of place. The lights are the subject, but the landscape tells the viewer where they are and how big the sky felt.
A few field-tested composition tips:
Anchor the frame with foreground interest. A single spruce, a lakeshore, a lit tent or a silhouetted figure transforms an abstract glow into a story. This is exactly what a guide helps you find in the dark.
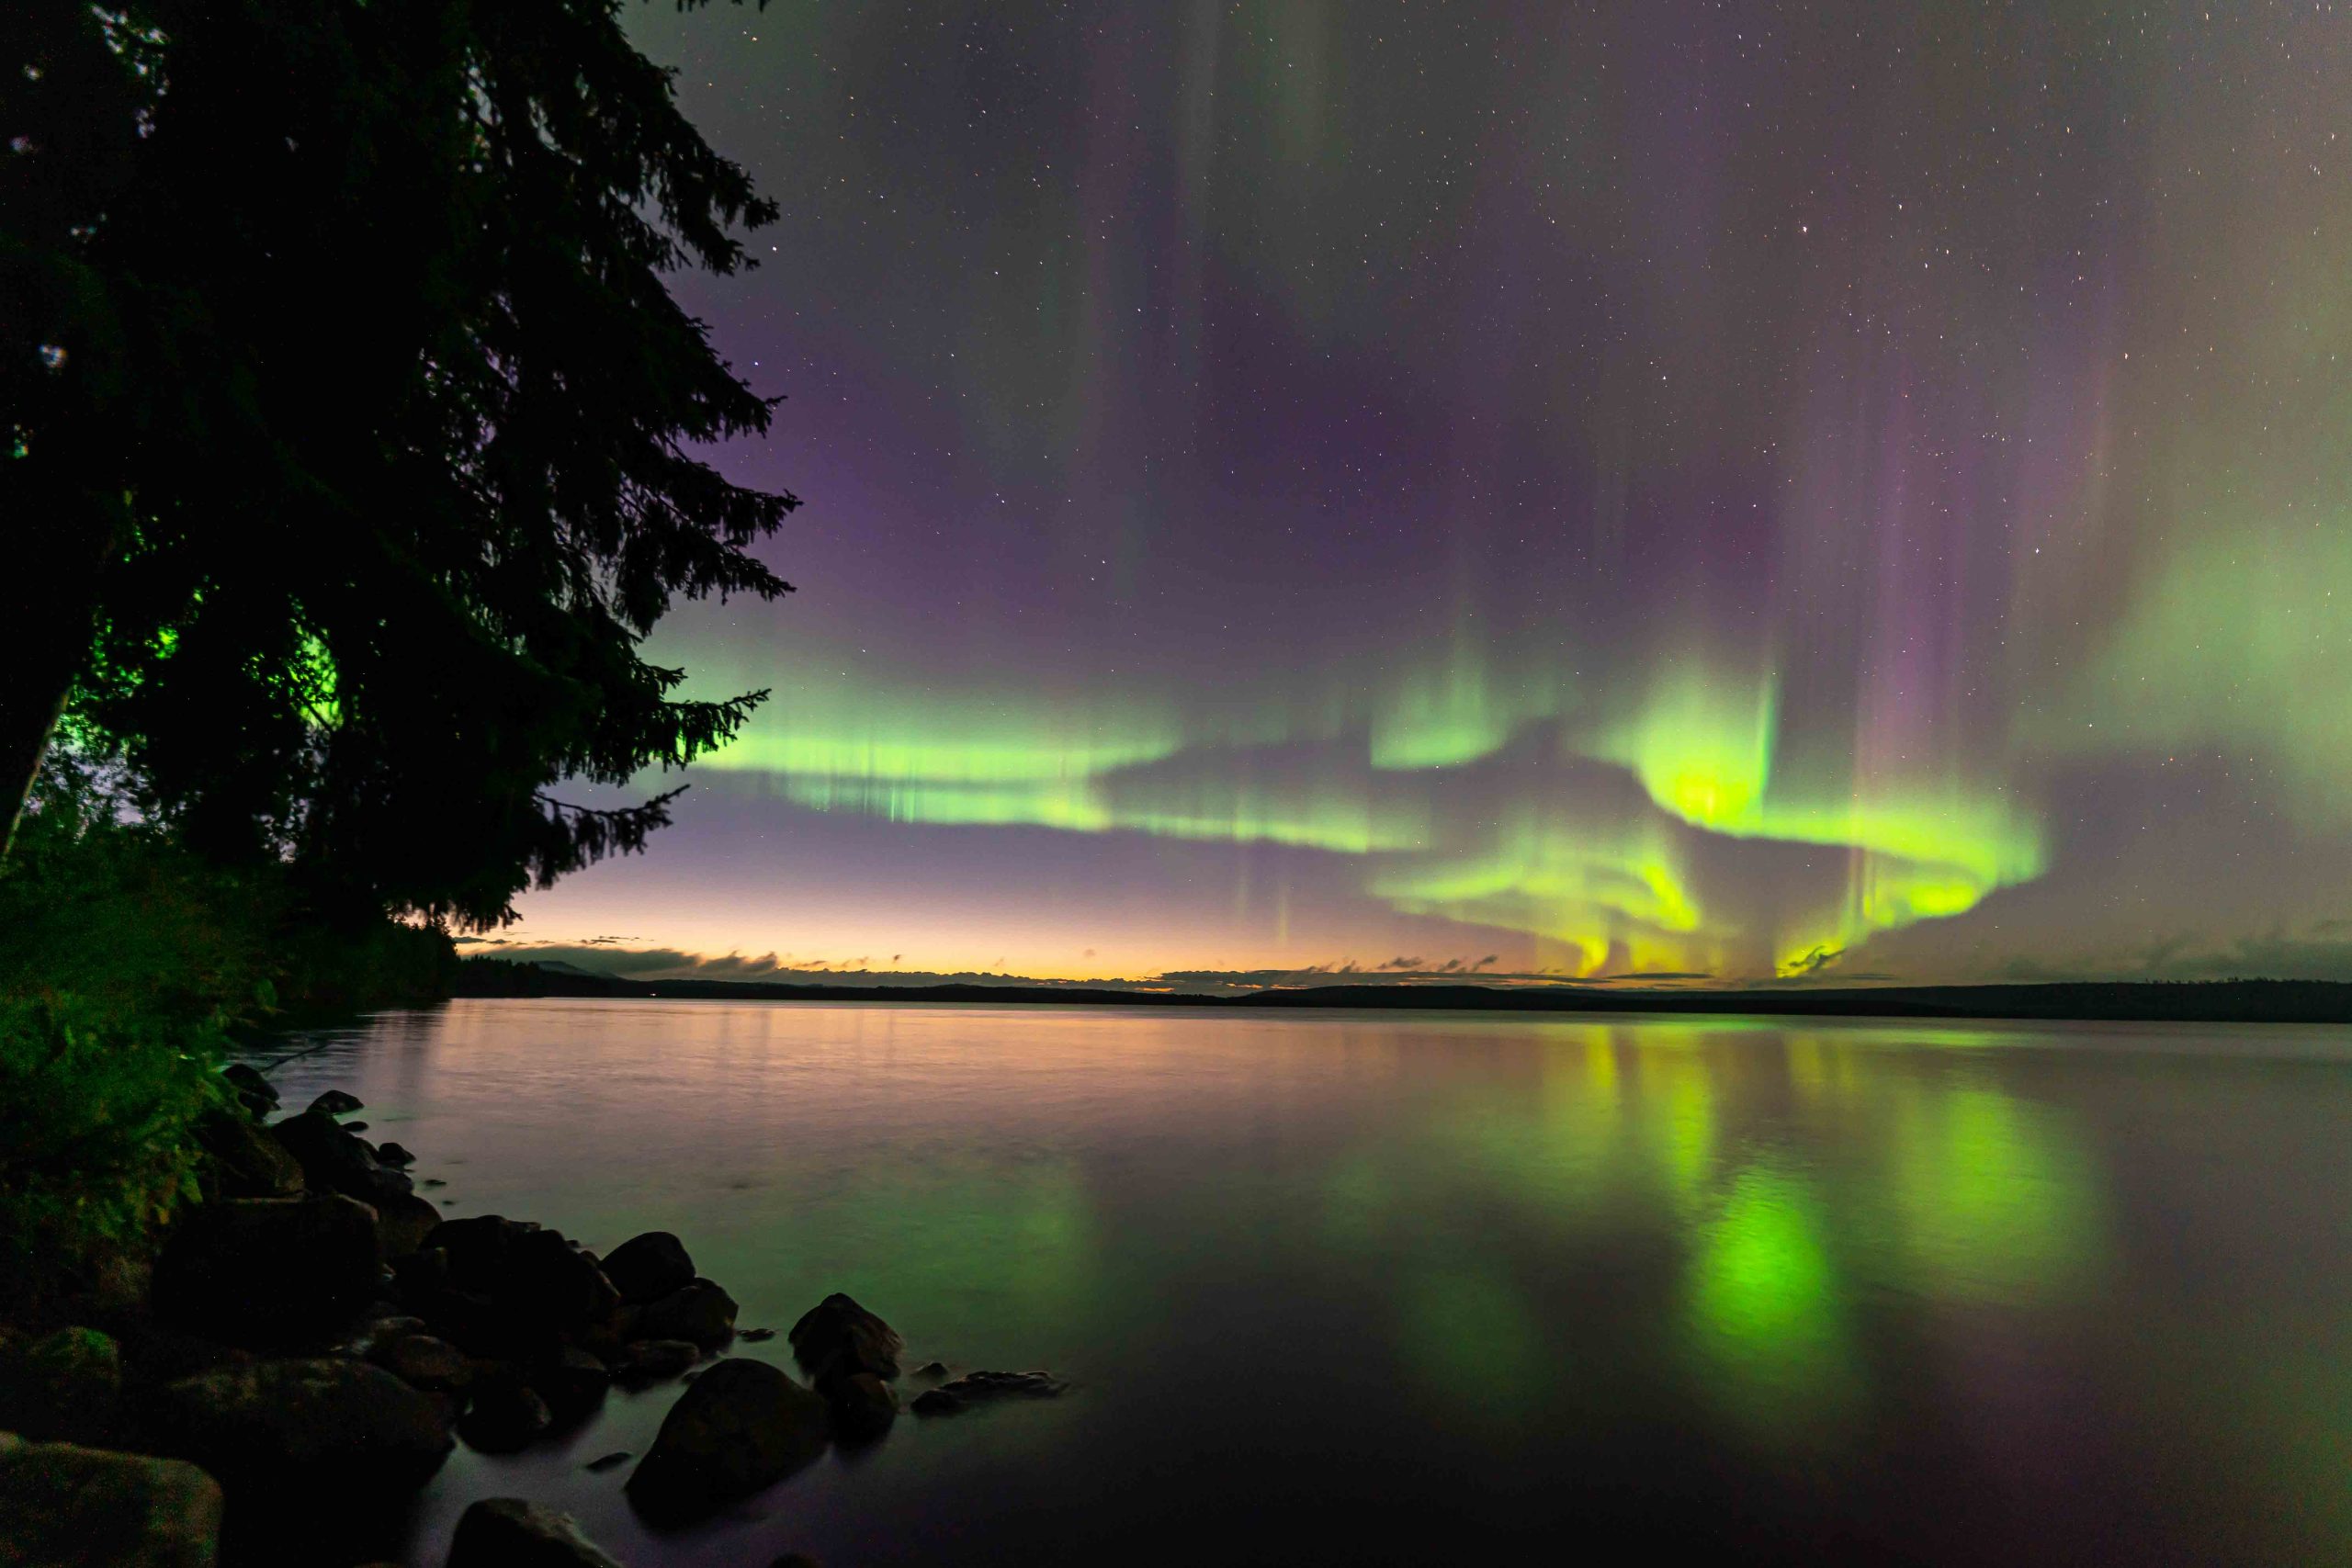
Use reflections. An unfrozen river or a wet, icy surface doubles the aurora and adds depth. Some of our most-loved frames are mirror images on still water.
Mind the horizon. Keep it level and decide deliberately how much sky versus land to include — usually more sky when the aurora is high overhead, more land when it sits low.
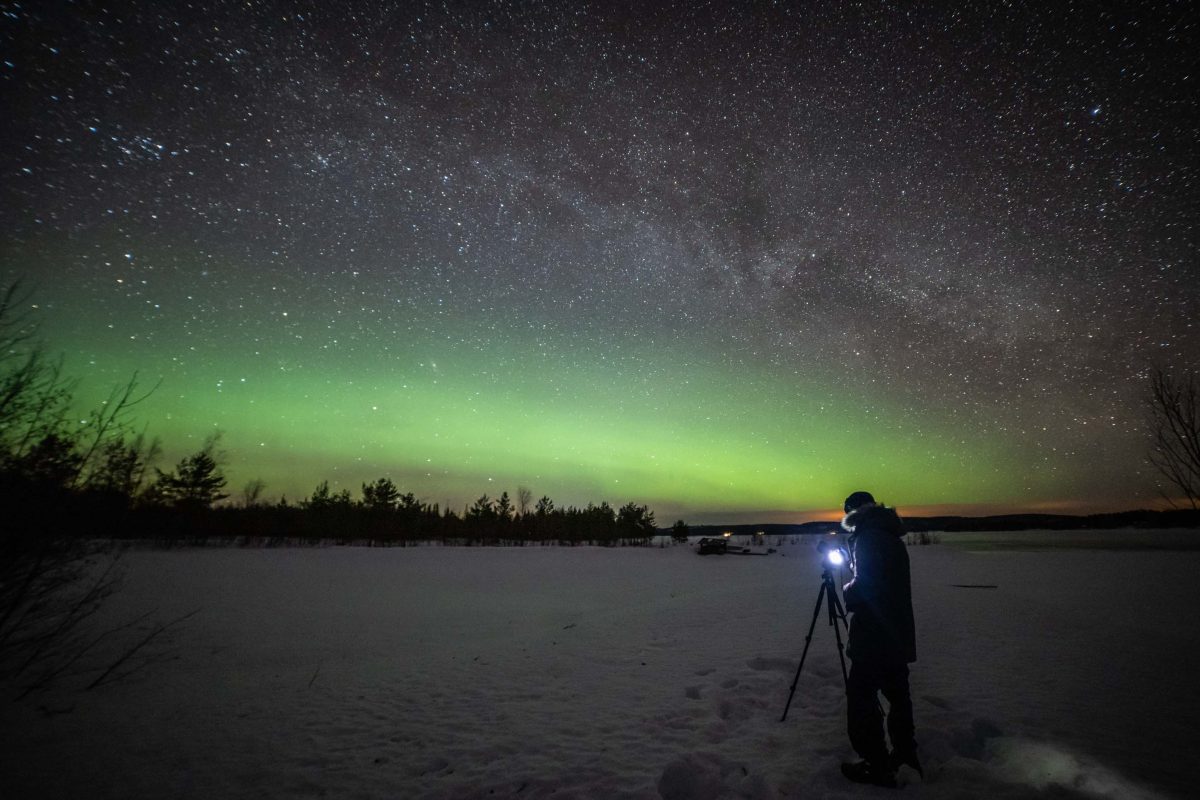
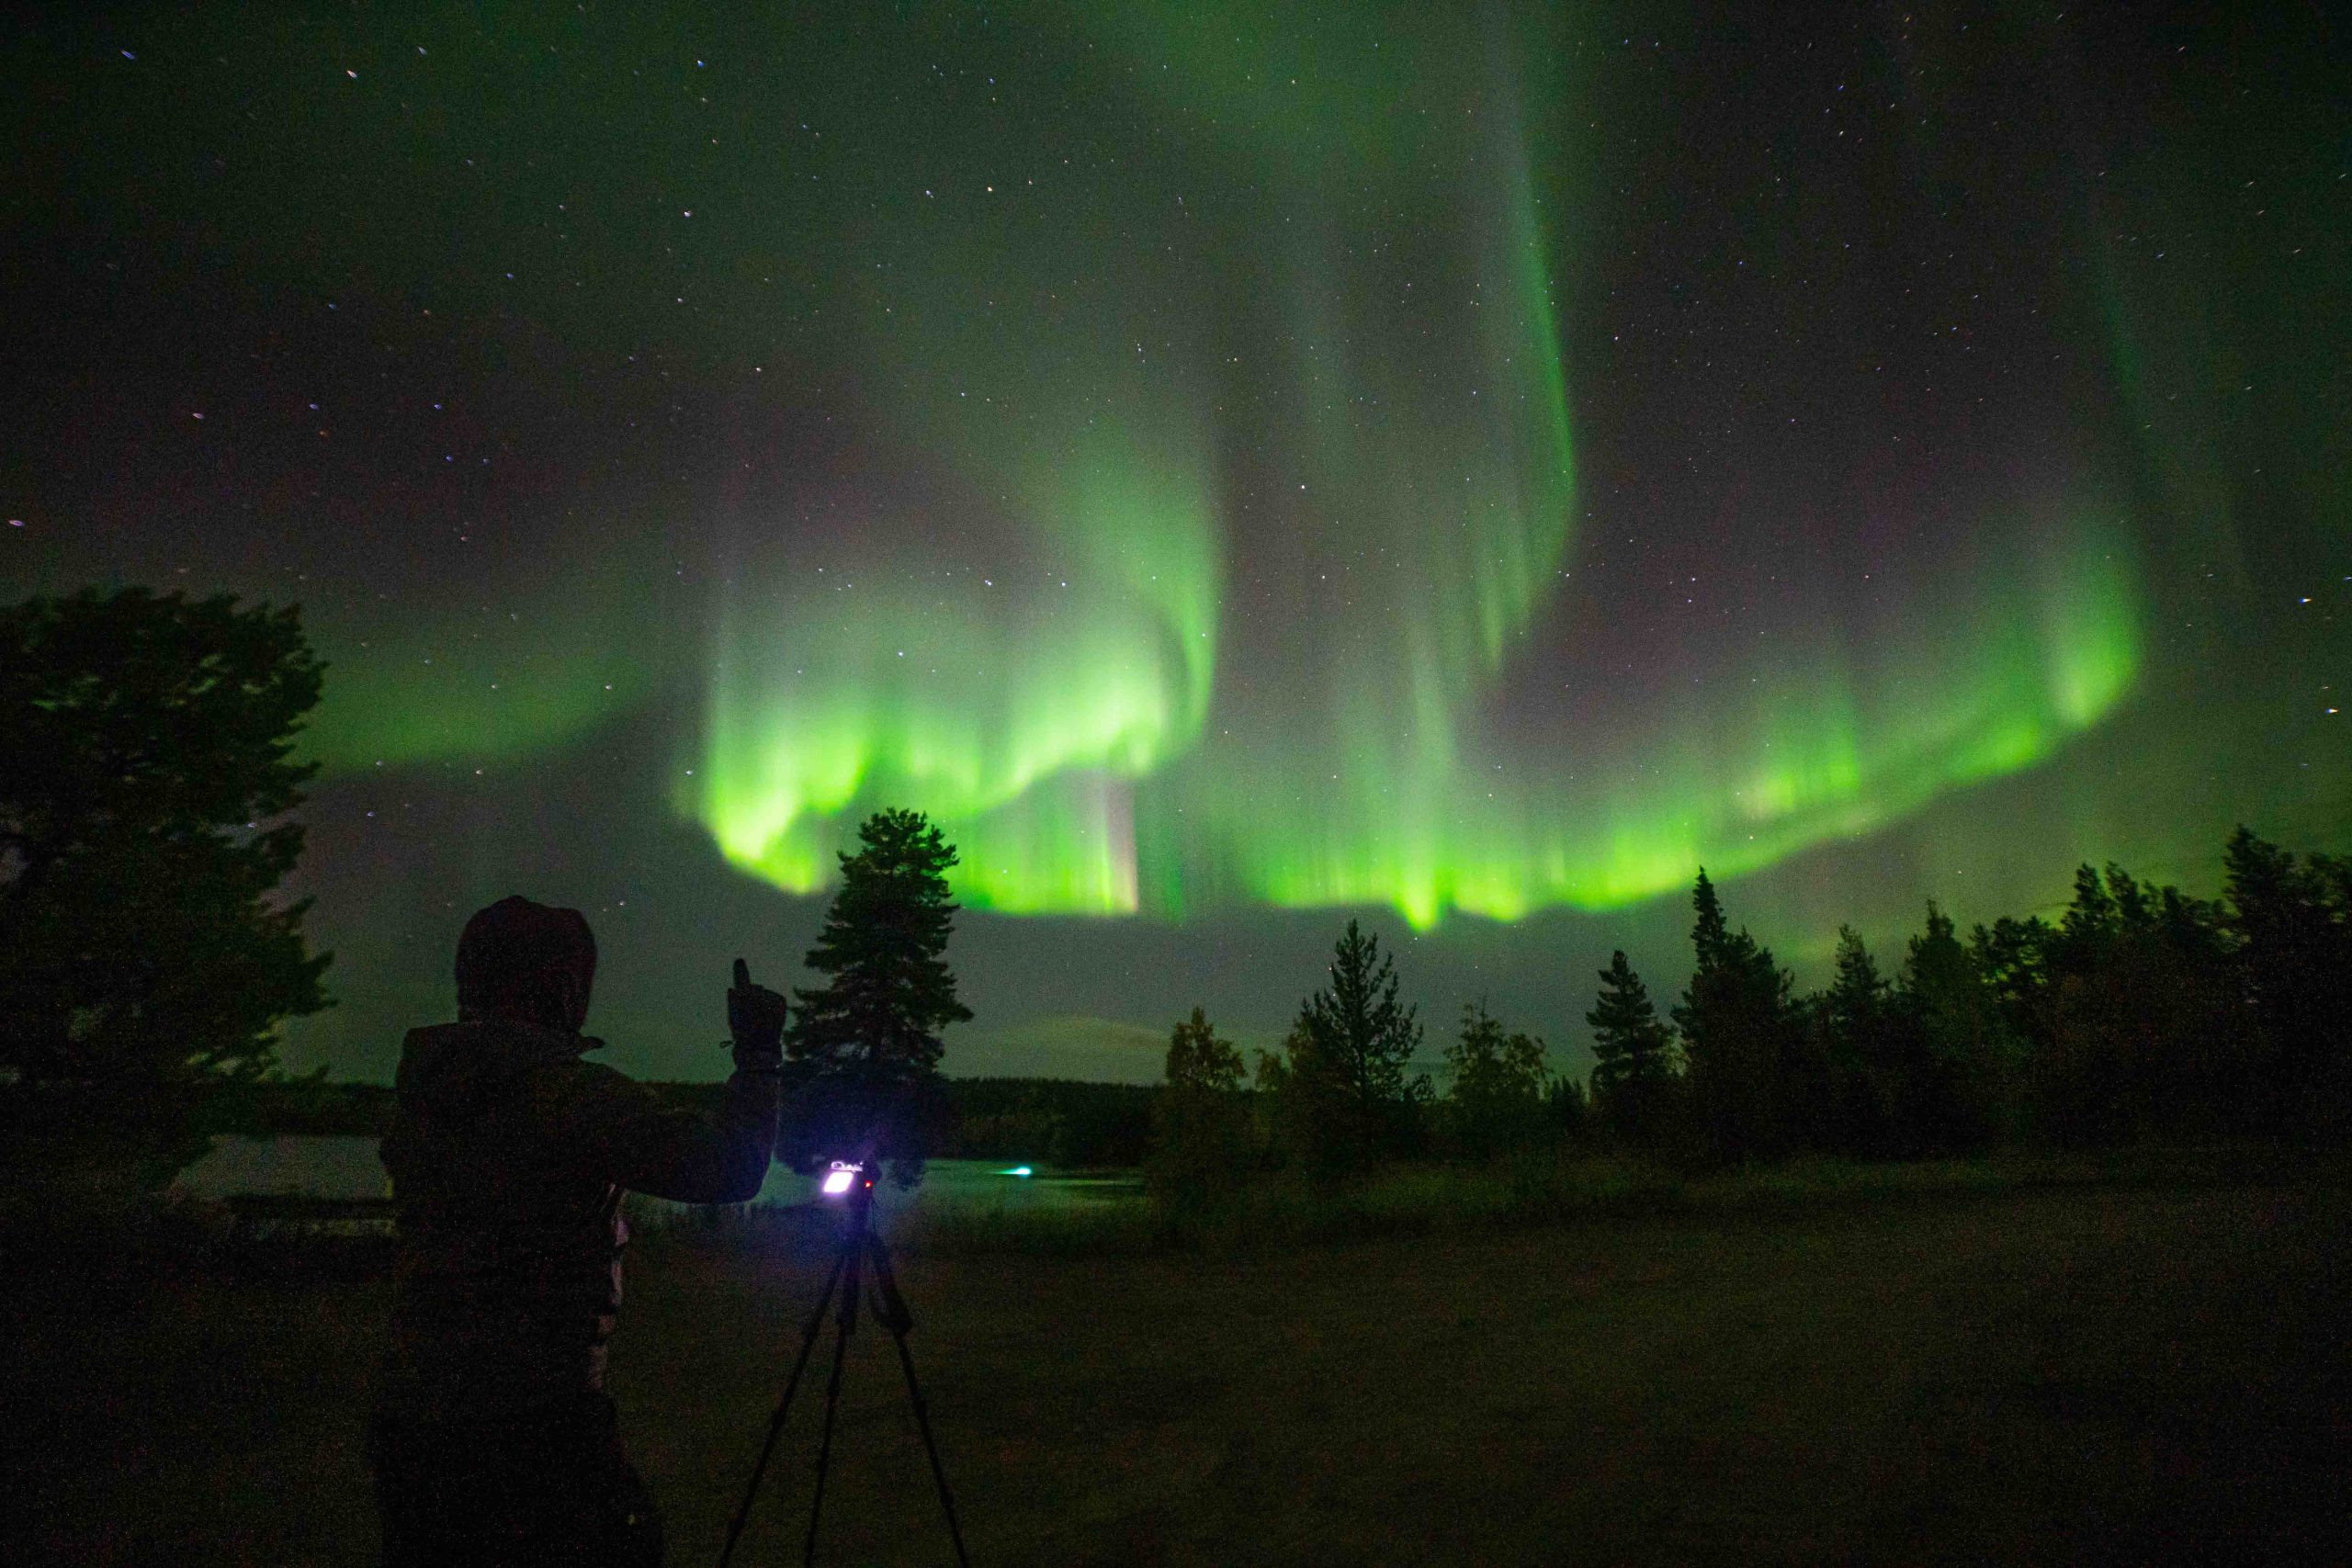
Include a person for scale and emotion. Ask them to stand still for the whole exposure (or they’ll blur). A small human figure under a vast green sky is the shot people remember.
Watch for light pollution. Turn away from town glow and streetlights where you can. This is half the reason we drive to dark, private locations rather than shooting from the nearest car park.
Common mistakes when photographing the northern lights
Most disappointing aurora photos come from a handful of avoidable errors. Fix these and your keeper rate jumps.
Leaving the camera on autofocus. In the dark it hunts and fails. Switch to manual and set focus to infinity on a bright star — this is the number-one cause of soft, ruined shots.
Forgetting the tripod (or a stable surface). Hand-holding a multi-second exposure guarantees blur. No tripod, no sharp aurora.
Too long a shutter on a fast aurora. A lively, dancing aurora needs a shorter exposure (2–6 s) to keep its structure. A 20-second frame turns dramatic curtains into a flat green cloud.
ISO cranked too high by default. Maxing ISO adds heavy noise. Start at 1600–3200 and only climb if the lights are genuinely faint.
Shooting JPEG only. RAW captures far more colour and shadow detail you can recover later. If your camera (or phone) offers RAW, use it.
Cold-killed batteries with no spare. The cold drains power quickly; keep a warm spare in an inside pocket.
Chimping instead of watching the sky. Don’t stare at the screen all night. Set your exposure, then look up — the best moments are brief, and they belong to your eyes first.
Let a professional photographer handle the settings for you
Reading about settings is one thing; nailing them with frozen fingers, in the dark, while the aurora is actually moving, is another. That is precisely the gap a professional photographer fills — and at Beyond Arctic, a pro photographer joins every northern lights tour as standard, never as a paid add-on.
On a Beyond Arctic northern lights photography tour, your guide is a working photographer who reads the space-weather and cloud forecasts, drives a group of no more than 8 people to a dark, private location away from light pollution, sets up your camera or phone, dials in the exposure, and teaches you the manual mode hands-on if you want to learn. We provide warm overalls, hot drinks and a free tripod (phone mount included) on every aurora trip.
Then comes the part guests love most: you don’t have to choose between experiencing the aurora and photographing it. Your guide also takes professional shots of you under the lights and delivers 5–15 edited photos free of charge, with no watermarks, within 2–7 days via gallery.beyondarctic.com. You watch the sky with your own eyes; we make sure you also go home with the images.
One promise we will never make is “guaranteed northern lights.” The aurora is a natural phenomenon, not a contract — we can teach you every setting in this guide, but no one can guarantee the sky will perform. What we can promise is that we go out whenever there is a chance, tell you the truth about conditions, and put you in the best possible place to catch them. If you’d rather have portraits than a tutorial, our photoshoots in Rovaniemi & Levi cover that too.
What camera settings do you use to photograph the northern lights?
Start in manual (M) mode with ISO 1600–3200, a shutter speed of 5–15 seconds, and the widest aperture your lens allows (ideally f/2.8). Set focus manually to infinity on a bright star and shoot in RAW. Treat these as starting points: brighten the exposure for a faint aurora, shorten the shutter for a fast one.
Can you photograph the northern lights with a phone?
Yes. A recent phone with a built-in night mode can capture the aurora well, especially on a small tripod or braced against a surface. Turn on Night mode, extend the timer to its longest setting, use a 3-second self-timer to avoid shake, and tap a dark part of the sky to set exposure. The phone does the long, stacked exposure for you.
Why do the northern lights look brighter in photos than in real life?
A camera collects light over several seconds, while your eye sees in real time and struggles with colour in the dark. So a faint aurora that looks grey-white to your eyes can record as vivid green or red on a long exposure. The camera isn’t lying — it simply gathers far more light than the human eye can.
What ISO is best for aurora photography?
ISO 1600–3200 is a reliable starting range: bright enough for a typical aurora, clean enough to look good. Drop toward ISO 800–1600 if the lights are very bright, and push toward 6400 only if they are faint. Higher ISO brightens the shot but adds grain, so use the lowest value that still captures the lights clearly.
What shutter speed should I use for the northern lights?
Begin around 5–15 seconds. Use a shorter exposure (2–6 seconds) when the aurora is bright and dancing fast, so its curtains and rays stay sharp. Use a longer exposure (15–25 seconds) for a faint, slow glow. Beyond roughly 20–30 seconds the stars start to trail, depending on your focal length.
Do I need an expensive camera to photograph the aurora?
No. You need manual control over ISO, shutter speed and focus, plus a tripod — not a top-end body. An entry-level mirrorless camera or DSLR with a kit lens works, and a recent phone with night mode can also deliver shareable results. A stable tripod and correct focus matter far more than the price of the camera.
How do I focus on the northern lights in the dark?
Switch to manual focus, because autofocus fails in darkness. Point at a bright star or a distant light, use your screen’s magnified live view to make it a sharp pinpoint, then lock focus there — that is effectively infinity. Don’t bump the focus ring afterwards. Re-check focus occasionally, as cold and handling can shift it.
Will a guide help me photograph the northern lights on a tour?
Yes — that’s the core of a Beyond Arctic tour. A professional photographer joins every northern lights trip, sets up your camera or phone, dials in the exposure, and teaches you manual mode hands-on. We also take professional photos of you and send 5–15 edited, watermark-free images within 2–7 days. We can’t guarantee the aurora, but we put you in the best place to catch it.
Juho is a true explorer who is always seeking for the next adventure. With more than a decade of experience in demanding hikes, mountain climbs and remote destinations around the world, Juho wanted to combine the explorer's spirit with his passion for photography. Beyond Arctic was born.
Hunt for the Northern Lights with your own group and a professional photographer, with a private location, flexible timing and professionally edited photos.
If you are planning to visit Rovaniemi this winter, you’ve probably wondered: when does snow come to Rovaniemi? Knowing what winter and snow activities are possible during your visit is essential to the entire experience, after all.
The Northern Lights season of autumn and winter 2025-2026 is just around the corner here in Rovaniemi. Here's what you need to know before planning your Northern Lights Adventure in the Arctic!
In the Arctic Circle Lapland, the long summer days with continuous sunlight are soon gone. In the end of August, two remarkable shifts can be observed: a subtle dip in temperature and the gradual darkening of nights. This transition signals a season for foraging the woods for berries and mushrooms and bringing in the bounty of the harvest from the fields.

 Top Seller
 Beyond Originals
  Rovaniemi 175 € / person